Part 5


Here’s where the “bullet hell” part of the game begins in earnest. This stage more than any other in the entire game is more about staying alive than actually scoring kills. The idea behind that idea is that the boss of this stage is a goddamn nightmare to deal with even on Normal, so you want to be going into the boss fight with a much health to expend as you can because no matter what you will be taking hits like crazy during that fight.
So where the hell are we this time around?
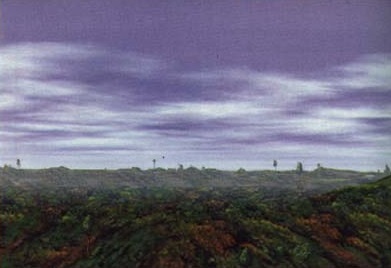
Well, it’s a forest level, the first and only one in this game. There are parts of the other games in the series, particular Orta where actual greenery shows up, but they’re few and far between and nowhere near as expansive as this one stage here.
This is also where we run face-first into the entire Imperial fleet. That cutscene that played at the end of Episode 1? That was setting the stage for this episode.

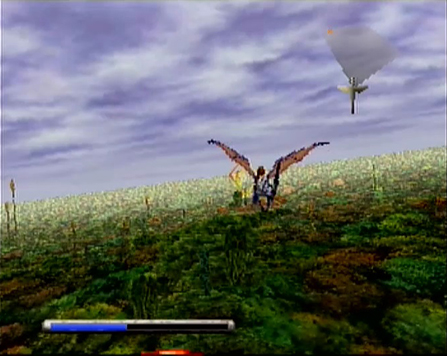
We follow the Dark Dragon out of the tunnels and emerge over this vast forest. However, the entirety of the Imperial fleet is there as well. In the skirmish with the dozens of battleships here to intercept both dragons, the Dark Dragon is lost by Kyle and Lagi and tears on ahead while the Empire throws its weight behind stopping the only person capable of actually thwarting Sestren’s planned global holocaust… Because the Empire in this game is a collection of panicky idiots.

We’re also, as luck would have it on the doorstep of the Imperial Capital, and ergo, a stone’s throw away from the Tower, so Kyle and Lagi better kick it into high gear in the next episode or I’m going to looking at a hattrick for “LPs where the hero fails to accomplish his principle goal” between this, White Knight Chronicles and Killzone.
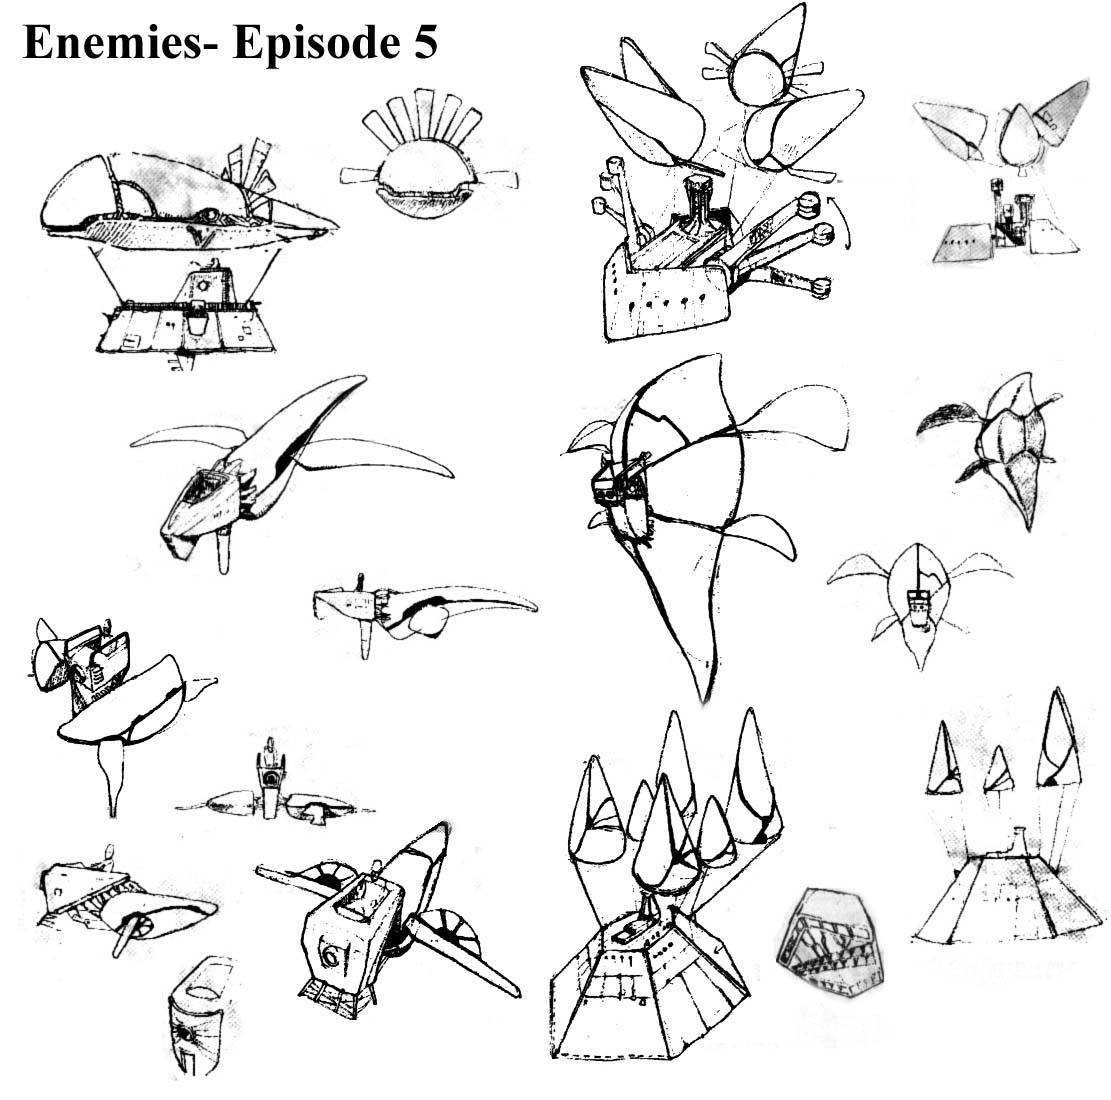
We also get an up close and personal glimpse at some of the craft that make up the Imperial fleet itself, most of which were glimpsed in the post-Episode 1 cutscene.
First up are the airships we see with the most regularity this level: the destroyers. These guys are notable for their flatter and wider profile than the regular battleships we’ve been encountering up till now. They also has a set of fan-like thrusters on the back end of their Lift Engines.
The destroyers show up all over this level and are the easiest capital ships to take out using a combination of sustained blaster fire and lock-on charges. They have only one major attack, and that’s the big fireball bursts that can easily be countered with Kyle’s blaster.

The battlecruisers from the first and third levels are back, however there’s only two of them this time around. These two are actually a little harder to take out than the because they don’t stick around in effective range of either the blaster or the lock-on shot for too long.
I had a curious thing happen with one of these types of enemies during one of my playthroughs that I sadly scrapped so I don’t have any actual evidence of it happening. However, during one of my MANY failed attempts at beating the boss for this stage, a battlecruiser just randomly wandered into the boss corridor and then back out of it again.
I don’t know if the game accidentally spawned it or it was a freak glitch or something, but that was the first and only time that that has ever happened to me and it was as weird as you could possibly imagine.

Next up is this… thing. I think it’s some kind of artillery ship, as those leg-like protrusions on either side of it fire off shots at you and can be blown off under sustained firepower rendering it defenceless.
It’s also escorted by two destroyers, one of which you can destroy if you take out the artillery ship fast enough, the other one you can’t because it hauls ass as soon as you take out the other two ships.
This thing is also an example of more important Imperial ships having blue hulls instead of brown ones.
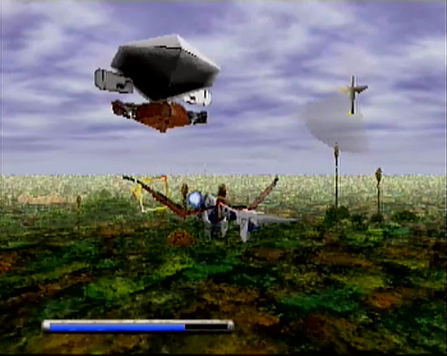
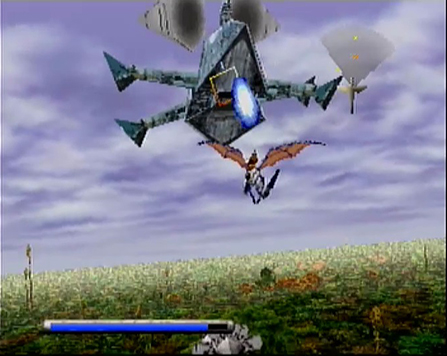
Case in point: this. We also encounter the Imperial flagship in this level, also glimpsed in the post-Episode 1 cutscene. It’s essentially a giant paperweight held aloft by six dunce caps.
The flagship has a few attacks to it, namely it alternates between dropping burst mines in your path and sending out squadrons of fighters to kamikaze you.
Taking out this thing is a major blow to the Empire, as the level pretty much ends after this thing goes down. After this they throw the boss at you in desperation. I also like the nice touch that when it falls out of the sky and hits the ground, the impact startles a flock of birds out of the trees.

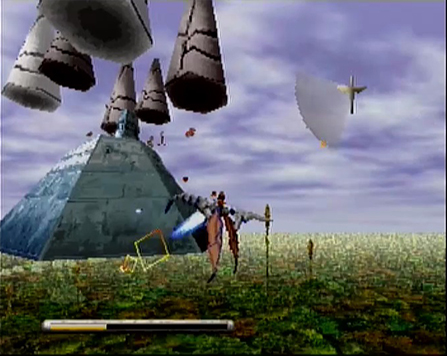
And lastly, there are these things. A pair of escort ships that accompany the boss of the level. Like the flagship and the artillery ship, these ones are blue instead of brown.
They’re meant to soften you up in advance of the boss and are a large part of why I hate this boss fight so much. You can only take one of them out before they run away and leave you to the mercy of the boss. And even then you need to pretty much pick one of the two and just hammer the fire button until it blow up then turn your attention to the boss.
They also spawn behind you when you’re focusing on the boss that has spawned ahead of you, so they're THE MOST dickish things in this episode.
And with that, here’s what WotA has to say on this stage:
The Will of the Ancients posted:
Episode 5
The verdant forest stretched out as far as the eye could see, from horizon to horizon. Kyle and the dragon were nearing the heart of the Empire now, and most of the Imperial fleet had been dispatched to intercept them and take them down.
Kyle had to fight his way through waves of small fighters and many larger airships above the trees, and the ordeal culminated in a confrontation with the flagship of the fleet itself, a vessel that was practically a flying fortress. Unfortunately for the Empire though, even this monstrous ship could not rival the power of the dragon; it could not stop the creature from continuing its quest.


I hate this thing so much.
I suppose a bullet hell level deserves a bullet hell boss, doesn’t it? You get to see how many times I eat it to this thing at the end of the video, but even that isn’t an accurate representation of things, because I scrapped another entire video featuring me blowing through another 10~ lives trying to take this thing out. The take on this level that you see in this video is the one where I finally survived.
That’s mostly the reason why I seem more on-point in this level than in the others; I’d played through it so many times by that point that I knew where everything spawned at and how to kill it with minimal damage to myself.
This is also the reason why you’re not going to see the final enemies shot down average screen that plays after the final boss. After a solid 45 minutes of getting demolished by this boss, I finally broke down and used the level select cheat to skip over it and get the footage for Episode 6 and Last Episode and then came back to try this one post-facto. What’s more you can see my shot-down-per-episode totals at the end of each level, so if you want to know my full LP run accuracy ratio, just add those up and average them.
It’s a meaningless number anyway.
Now, as for the boss itself… I don’t know how to explain this thing. In the video, we posit that this thing is so insane with its shape and overloading with weaponry that it was most likely designed by the Emperor’s 4 year-old son and then actually produced, because who’s going to argue with a toddler that have you executed if he has a temper tantrum?
There’s a myriad of strategies to deal with this thing. The one I use for this video, which probably isn’t that effective, but whatever, is to dodge everything it fires at you when it circles behind you. The thing that makes this boss so hard is that 1) it launches so many projectiles at you that it’s nearly impossible to shoot them all down, and 2) it circles around you and fires everything it has at you when it’s on your 12, 3, 6, and 9 o’clock.
The reason you see me try to blind dodge a lot of its projectiles when it’s not directly ahead of me is that when you change your views to see anything outside of directly ahead of you, your maneuverability is incredibly diminished and there are certain views where you can’t maneuver at all when you’re looking to the side or backwards. And this thing shoots so much shit at you, you pretty much need to dodge as much of it as you can.
Once the three tired spinarooney cannon is taken out, it flips ass over tea kettle and launches missiles at you. There’s two types of missiles, red and green. The red ones fly right at you at high speed so you have to dodge them very quickly. The green missiles open up like fans and approach you slowly, giving you a chance to shoot them down before they home in on you because you can’t dodge these ones.
Hitting the blue brace on its “leg” is the weakpoint for this stage and then you win.
Fuck this thing.